I love baking at home and making sweet treats. It’s something that started off as just a hobby, but over the years, it became my little escape. I’m a mom of two very active, always-hungry boys who are my official taste-testers and these cookies and cream cupcakes have become our go-to treat. Birthday parties, sleepovers, school bake sales, or even a random rainy Tuesday… these cupcakes always show up.
What makes them extra special is not just the rich chocolate cookie crunch or the fluffy vanilla base—it’s the little hands that help stir the batter and sneak spoonfuls of frosting when they think I’m not looking. And hey, the best part? They’re super easy to make. No fancy tools, no weird ingredients. Just good ol’ pantry basics, a few cookies, and a whole lotta love.
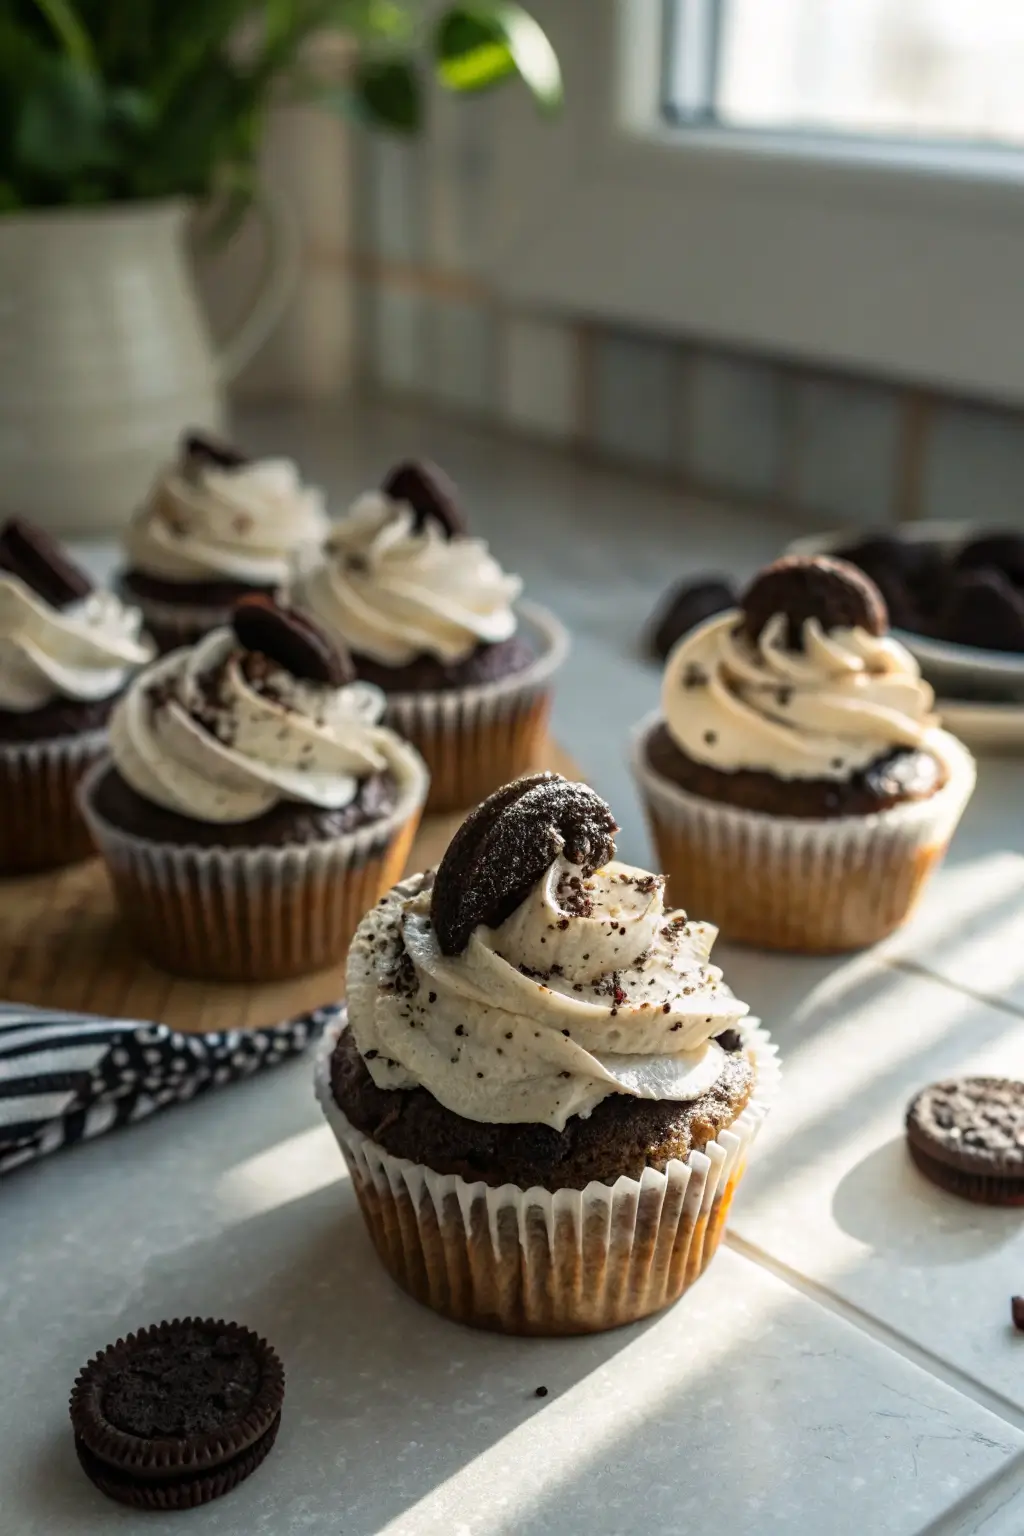
I think what really sets this recipe apart is the balance. You’ve got that moist, not-too-sweet base that lets the cookie flavor shine, plus the frosting that makes it extra decadent without being over the top. These cupcakes are totally beginner-friendly. If you’ve made basic cupcakes before, you’ll find this even easier than you think. No special tools needed—just your favorite mixing bowl, a whisk (or mixer if you like), and your trusty oven.
if you’re looking for other easy cupcake ideas, I recommend checking out this fun twist: Dairy-Free Cupcakes. You can even try adding cookie crumbles to those if you need a dairy-free version of this treat. Now let’s roll up our sleeves and make these cookies and cream cupcakes from scratch!
Table of Contents
Cookies and Cream Cupcakes vs. Oreo Cupcakes
Let’s clear up a little confusion: are cookies and cream cupcakes the same as Oreo cupcakes? Well, kinda. They’re close cousins. Some folks use whole Oreos in the bottom or as a topper, but in this recipe, we crush the cookies and blend them right into the batter and frosting for that cookies-and-cream flavor all the way through.
That means every single bite is loaded with cookie goodness—no surprise crunch at the bottom, no dry bits on top. Just smooth, sweet cupcake joy with cookie bits baked into every inch.
You can get creative too. Want to switch things up? Try making these into mini cupcakes like you’d see at a party. I’ve seen people turn them into layered jars or even ice cream-inspired desserts like this adorable Cookie Monster Ice Cream—and trust me, the kids go wild over that one!
Ingredients for the Perfect Cookies and Cream Cupcakes
Pantry Staples You’ll Need
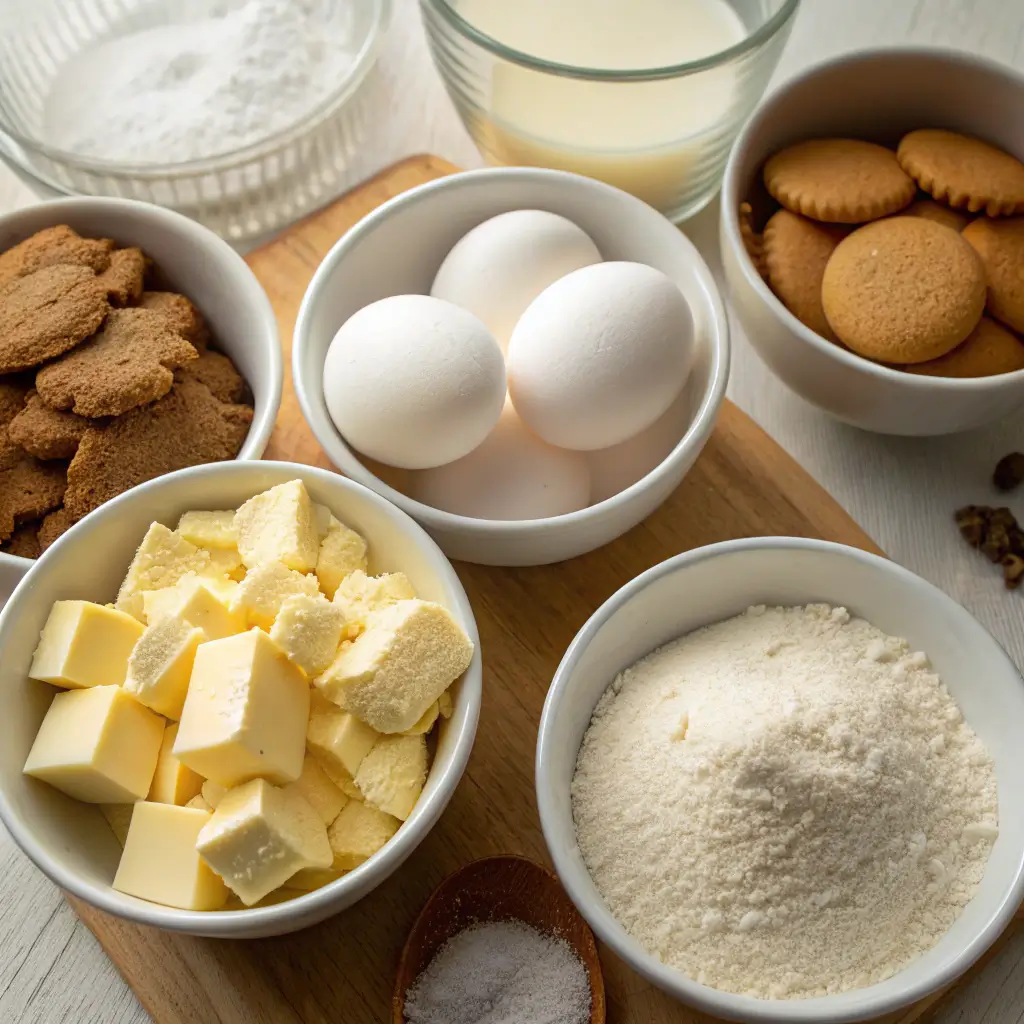
You probably have most of this stuff in your kitchen already. That’s the beauty of these cookies and cream cupcakes—you don’t need anything fancy to whip them up. Here’s what you’ll want to gather:
- 1 stick unsalted butter (room temp – about ½ cup)
- ¾ cup white sugar
- 2 large egg whites (don’t toss the yolks—save ‘em for breakfast)
- 1¼ cups all-purpose flour (sifted if you can)
- 1 teaspoon baking powder
- ¼ teaspoon salt
- ¾ cup crushed chocolate sandwich cookies (use your fav brand)
If you’re in a baking mood, you might also enjoy these soft and sweet Chocolate Chip Cupcakes—they’re another family favorite over here.
Fresh Ingredients You Can’t Skip
These fresh add-ins help make the cupcakes ultra moist and flavorful. Don’t swap ‘em out unless you really have to:
- ¾ cup sour cream (adds richness)
- ¼ cup milk (I use skim, but anything works)
- 1 teaspoon vanilla extract
The sour cream might sound odd, but it’s the secret weapon in this recipe. It makes everything soft and pillowy. If you need something lighter, you could look into this Protein Cinnamon Roll Recipe too, it’s another great bake with a soft interior.
Frosting Ingredients That Make It Irresistible
Now let’s talk about that creamy, dreamy topping. Here’s what you’ll need for the frosting:
- 1 cup unsalted butter (that’s 2 sticks)
- 2 cups powdered sugar (sifted makes it smoother)
- 1 teaspoon vanilla extract
- 1 cup finely crushed cookies (blend them into cookie “dust” for smoother piping)
Step-by-Step Guide to Baking the Cupcakes
1. Mixing the Batter for Cookies and Cream Cupcakes
Alright, this is where the fun (and mess!) begins. My boys love helping out at this stage—especially when they get to crush the cookies. Start by preheating your oven to 400°F and lining a muffin tin with 12 cupcake liners. While that heats up, grab a large mixing bowl.
Cream together 1 stick of unsalted butter and ¾ cup granulated sugar using a hand mixer or stand mixer. Beat on medium speed for about 2 minutes until it’s light and fluffy. Don’t skip this step—it’s what gives the cupcakes their airy texture.
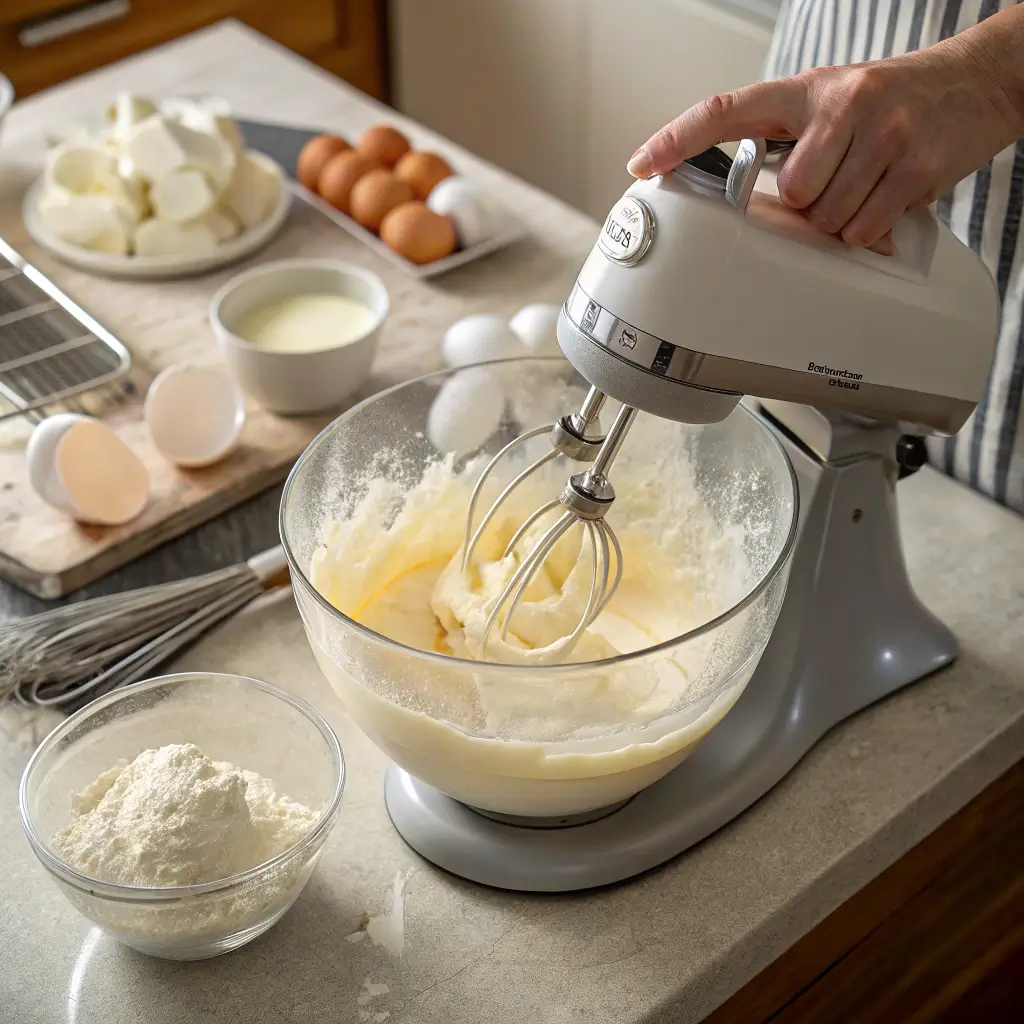
Next, add in 2 large egg whites and mix until combined. Then pour in ¾ cup sour cream, ¼ cup milk, and 1 teaspoon vanilla extract. Give everything a gentle mix until smooth and creamy.
In another bowl, whisk together 1¼ cups all-purpose flour, 1 teaspoon baking powder, and ¼ teaspoon salt. Slowly add the dry mix to the wet mix, stirring with a spatula or on low speed. Now for the best part: fold in ¾ cup crushed cookies until they’re spread out evenly. The batter should be thick and speckled with cookie bits.
2. How to Bake Them Just Right
Now spoon the batter into your cupcake liners, filling each one about ¾ full. This gives them just enough room to puff up without overflowing.
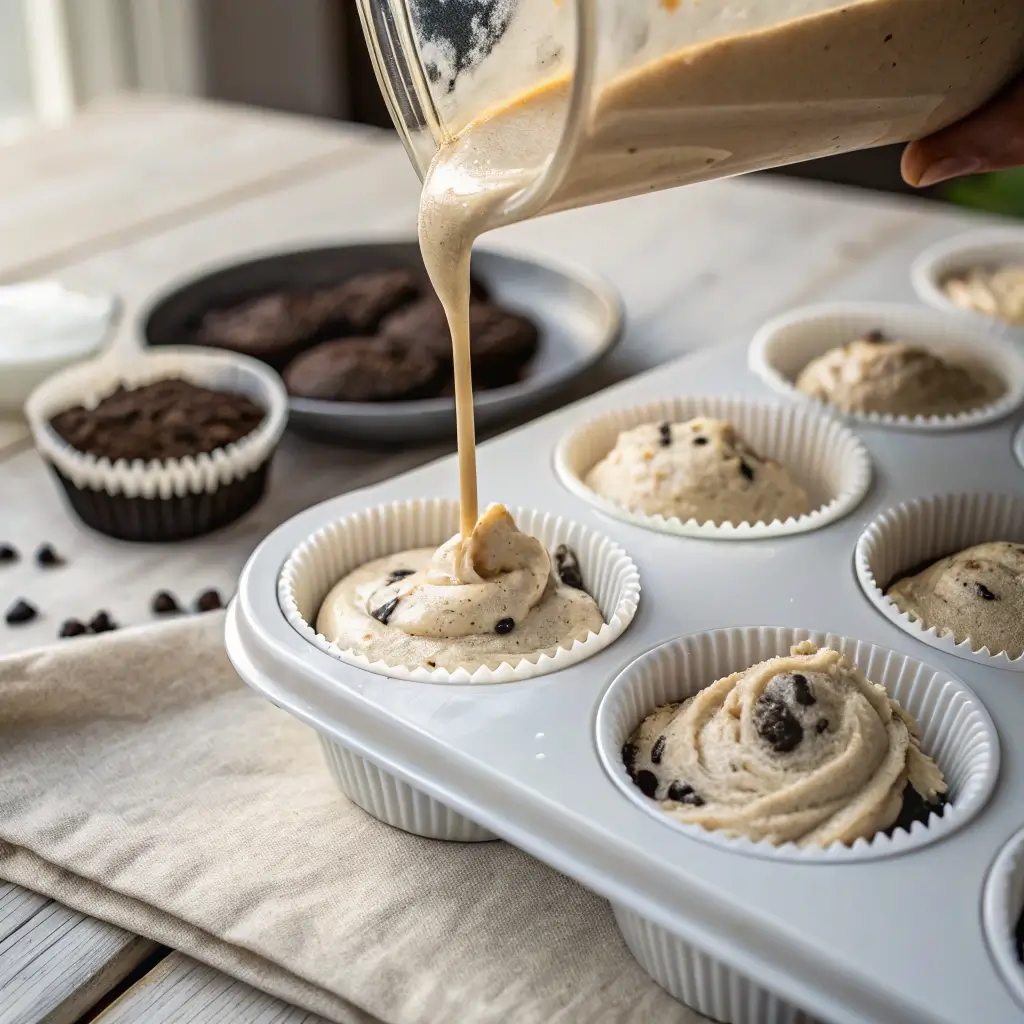
Bake at 400°F for 5 minutes—this trick helps the cupcakes rise fast and get those nice domed tops. Then, without opening the oven, lower the temperature to 350°F and bake for another 8 to 10 minutes. They’re ready when a toothpick comes out with a few moist crumbs on it.
Let the cupcakes cool in the pan for 5 minutes, then transfer to a cooling rack. And yes, it’s okay to sneak one while it’s still warm (I always do!).
While you’re waiting, check out this delightful French Silk Slab Pie Recipe, another fun dessert you might want to try for your next sweet fix.
3. Making the Cookies and Cream Frosting
Once your cupcakes are cool, it’s frosting time! In a bowl, beat 1 cup unsalted butter with 1 teaspoon vanilla extract until fluffy. Slowly add in 2 cups powdered sugar, about ½ cup at a time. If it gets too thick, add a tiny splash of milk.
Next, fold in 1 cup of finely crushed cookies. These should be more like cookie dust—run them through a blender if needed. This gives the frosting a smooth texture that’s easy to pipe or spread.
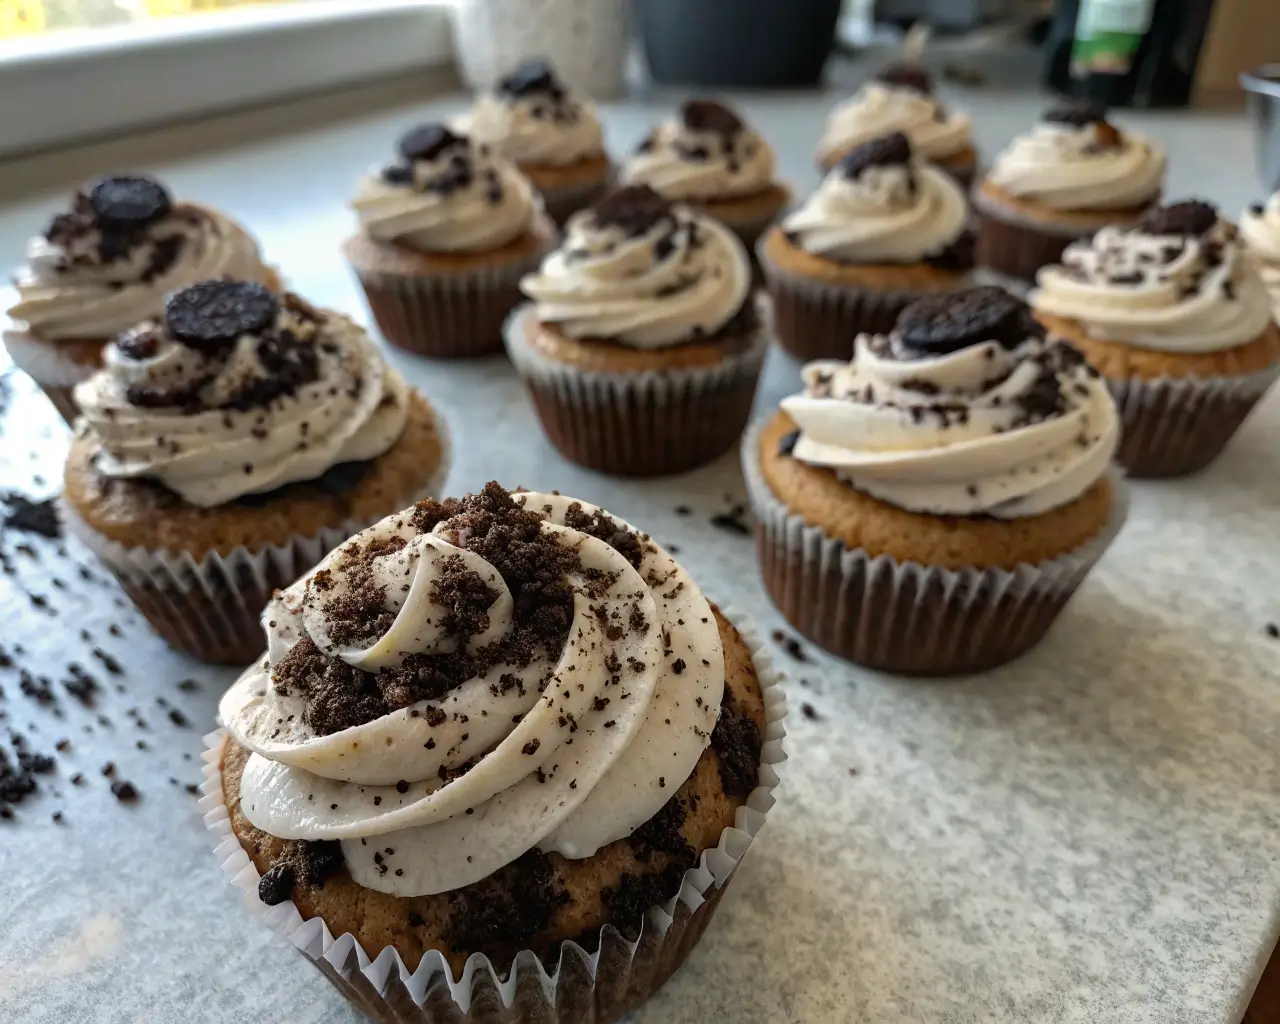
Fill a piping bag with the frosting and decorate each cupcake. Or just slather it on with a spoon if you’re in a hurry. Top with more cookie crumbs if you’d like.
Topping Ideas That Make These Cupcakes Extra Fun
Kid-Friendly Cookie Toppers and More
Toppings are where you can really let your creativity shine. The great thing about cookies and cream cupcakes is that they’re already packed with flavor, but a little extra touch on top never hurts!
You can stick half an Oreo into the frosting for a cute cookie “flag” or crumble some on top for texture. For birthdays or themed parties, try adding mini chocolate chips, white chocolate drizzle, or edible confetti sprinkles. One time, we added mini marshmallows and called them “campfire cupcakes”—total hit!
Don’t be afraid to let your kids help choose. They love decorating just as much as they love eating them. And hey, if things get messy, it just adds to the fun.
Serving Ideas for Parties or Special Days
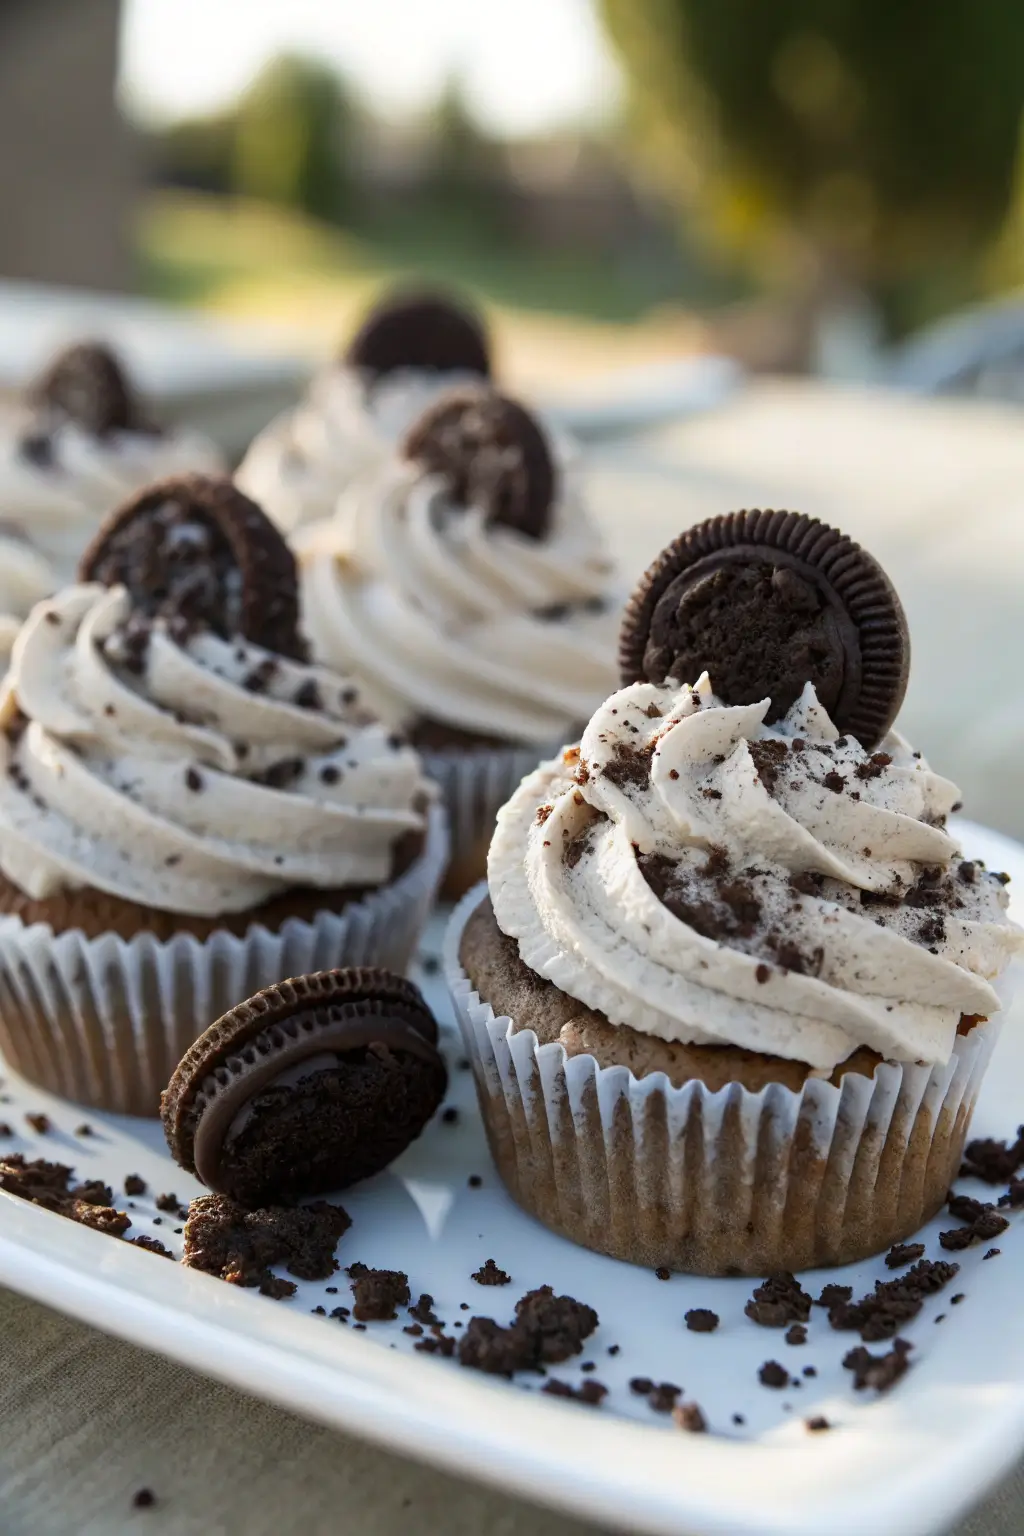
These cupcakes are perfect for everything from school bake sales to baby showers. You can even go the extra mile and bake them in colorful liners or themed wrappers. For a fancier twist, try serving them with a side of whipped cream or a scoop of Cotton Candy Ice Cream. That one’s a party pleaser every single time.
Don’t have time to decorate each one? Just dust a little powdered sugar on top or add a drizzle of melted chocolate. They’ll still look—and taste—amazing.
For more delicious recipes, check out our cream cheese filling guide, which has more sweet ideas perfect for homemade desserts.
Cookies and Cream Cupcake Variations to Try
Gluten-Free and Dairy-Free Swaps That Work
Got food allergies or dietary needs at home? No worries—you can still enjoy the sweet magic of cookies and cream cupcakes! It’s actually easier than you think to tweak this recipe.
For a gluten-free version, just switch out the all-purpose flour with your favorite 1:1 gluten-free baking mix. Many of them already have xanthan gum added, so there’s no guesswork. Also, look for gluten-free chocolate sandwich cookies. There are some really good ones out there now that taste almost identical to the originals.
If you’re going dairy-free, swap the butter for a plant-based option (I like using unsalted vegan baking sticks), and use a non-dairy yogurt or plain coconut yogurt instead of sour cream. Almond or oat milk works great in place of regular milk.
And yes, the frosting can be made dairy-free too! Just use vegan butter and check that your powdered sugar is dairy-free (most are, but it never hurts to check).
These little changes let everyone in the family enjoy a bite—even those with sensitivities.
Mini Cupcakes and Cupcake-in-a-Jar Treats
Sometimes a full-size cupcake is a bit much—especially for little kids or party trays. That’s when mini cookies and cream cupcakes come in handy. Just bake them in a mini muffin tin and cut your bake time to about 8–10 minutes total. Keep an eye on them, though—they bake fast!
Another fun idea? Make cupcake jars. Layer crumbled cupcake, frosting, and cookie crumbs in small mason jars. They’re great for party favors or dessert bars, and they look so cute lined up on a table.
And if you’re feeling adventurous, swirl a little chocolate sauce between the layers for extra fun. These are easy to make ahead and store in the fridge until party time.
Flavor Twist Ideas That Still Taste Like Cookies and Cream
Want to shake things up while keeping the cookies and cream vibe? Here are a few simple ideas:
- Use golden sandwich cookies instead of the chocolate ones for a lighter, buttery flavor.
- Add a spoonful of peanut butter to the frosting for a nutty twist.
- Mix in mini chocolate chips for a double-chocolate treat.
With a base as simple and flexible as these cookies and cream cupcakes, you can play around and find your family’s favorite version in no time.
Tips for Baking the Best Cookies and Cream Cupcakes
Common Mistakes to Avoid When Baking
Even though this recipe is super simple, there are a few common hiccups that can happen. But don’t worry—I’ve made them all, so you don’t have to.
One big mistake is overmixing the batter. Once you add the flour, mix just until the dry bits disappear. Overdoing it can make the cupcakes dense instead of fluffy.
Another thing? Using cookie pieces that are too big. If you toss in chunky bits, they can sink to the bottom or mess with the texture. I always give mine a few extra pulses in the blender to get them just right—crumbly but not powdery.
Oh, and don’t forget to measure your flour the right way! Use the spoon-and-level method. Scooping straight from the bag packs too much into your cup, and that can dry out your cupcakes.
My Go-To Tricks for Light, Fluffy Results
Here’s what works for me every time. First, make sure your ingredients are at room temp—especially the butter, eggs, and sour cream. Cold ingredients don’t mix as well and can throw off the texture.
Also, don’t skip the bake temp trick: starting at 400°F for 5 minutes, then reducing to 350°F helps the cupcakes puff up beautifully. That first high-heat blast gets the batter rising fast.
And when it comes to frosting, always sift your powdered sugar. It makes everything smoother and easier to pipe. If you’re using a piping tip, make sure your cookie crumbs are super fine so they don’t clog up the nozzle.
Want to practice these tips on another easy sweet treat? You might like this Crescent Cheese Danishes Recipe, a great bake when you’re craving something soft and buttery.
How to Store and Freeze Cookies and Cream Cupcakes
Keeping Cupcakes Fresh on the Counter or in the Fridge
First, make sure the cupcakes are completely cooled before storing. If you try to pack them up while they’re still warm, condensation can make the tops soggy and mess with the frosting. After they’re cool, place them in an airtight container. If you’ve already frosted them, try to store them in a tall container so the tops don’t get smushed.
You can leave the cupcakes on the counter for up to 2 days, as long as your kitchen isn’t too warm. For longer storage, pop them in the fridge—they’ll stay fresh for about 4 to 5 days. Just let them sit at room temp for 10–15 minutes before eating, so the frosting softens up again.
Freezing for Later? Totally Works!
Yep, you can freeze cookies and cream cupcakes—and they still taste amazing after thawing. You’ve got two options here: freeze them with or without frosting.
If you’re freezing without frosting, wrap each cupcake tightly in plastic wrap and place them all in a zip-top freezer bag. They’ll stay good for up to 2 months. When you’re ready to use them, let them thaw on the counter overnight. Easy peasy.
Want to freeze them with frosting already on? Freeze the cupcakes on a tray for about an hour first (just enough to harden the frosting), then wrap them gently in plastic and store in a sealed container. This keeps the frosting from getting smashed during storage.
Either way, frozen cupcakes are a lifesaver when you need a last-minute treat. Just thaw, maybe add a few cookie crumbs on top, and you’re good to go!
What’s the difference between cookies and cream cupcakes and Oreo cupcakes?
Honestly, they’re super similar. But usually, cookies and cream cupcakes refer to any cupcakes made with crushed chocolate sandwich cookies mixed into the batter and frosting.
Can I use whole eggs instead of just egg whites in this recipe?
Yes, you can use whole eggs, but it’ll change the texture a bit. Egg whites make the cupcakes lighter and give them a whiter color, which helps the cookie pieces pop visually. Whole eggs will still work fine, but the crumb will be slightly denser and richer in color. If you don’t mind that, go ahead and use 1 whole egg for every 2 egg whites.
How do I keep cookies and cream cupcakes from drying out?
That’s all about storage and bake time. First, don’t overbake them—pull them out once a toothpick comes out with a few crumbs. Once they’re cool, store them in an airtight container at room temp for up to two days, or in the fridge for five. And if you’re saving them longer, freezing works great too. Just wrap them well to keep all that moisture in.
Do I need to use sour cream in cookies and cream cupcakes?
I highly recommend it! Sour cream gives the cupcakes a super soft, moist texture and adds a subtle richness that plays perfectly with the chocolate cookie crunch.
Cookies and Cream Cupcakes
- Total Time: 30 minutes
- Yield: 12 cupcakes 1x
Description
Moist and fluffy cookies and cream cupcakes with crushed cookie bits and a creamy cookie-speckled frosting. A no-fail favorite for parties or sweet family moments.
Ingredients
For the Cupcakes:
-
1 stick unsalted butter (½ cup), room temperature
-
¾ cup white granulated sugar
-
2 large egg whites
-
¾ cup sour cream
-
¼ cup milk (any kind)
-
1 tsp vanilla extract
-
1¼ cups all-purpose flour
-
1 tsp baking powder
-
¼ tsp salt
-
¾ cup crushed chocolate sandwich cookies
For the Frosting:
-
1 cup unsalted butter (2 sticks), room temperature
-
2 cups powdered sugar
-
1 tsp vanilla extract
-
1 cup finely crushed cookies
Instructions
-
Preheat oven to 400°F. Line a 12-cup muffin tray with liners.
-
In a bowl, cream butter and sugar until light and fluffy (about 2 mins).
-
Add egg whites, then mix in sour cream, milk, and vanilla.
-
In a separate bowl, whisk flour, baking powder, and salt.
-
Slowly add dry ingredients into the wet mixture. Mix just until combined.
-
Fold in crushed cookies gently.
-
Fill cupcake liners about ¾ full.
-
Bake at 400°F for 5 minutes, then lower heat to 350°F and bake for 8–10 more minutes.
-
Let cool completely before frosting.
-
For frosting, beat butter and vanilla until fluffy. Slowly add powdered sugar, then mix in crushed cookies. Pipe or spread over cooled cupcakes.
Notes
Room temp ingredients mix best and create fluffier results.
- Prep Time: 15 minutes
- Cook Time: 15 minutes
- Category: Dessert
Nutrition
- Serving Size: 1 cupcake
- Calories: 310
- Sugar: 26g
- Fat: 16g
- Carbohydrates: 38g

1 thought on “Cookies and Cream Cupcakes”